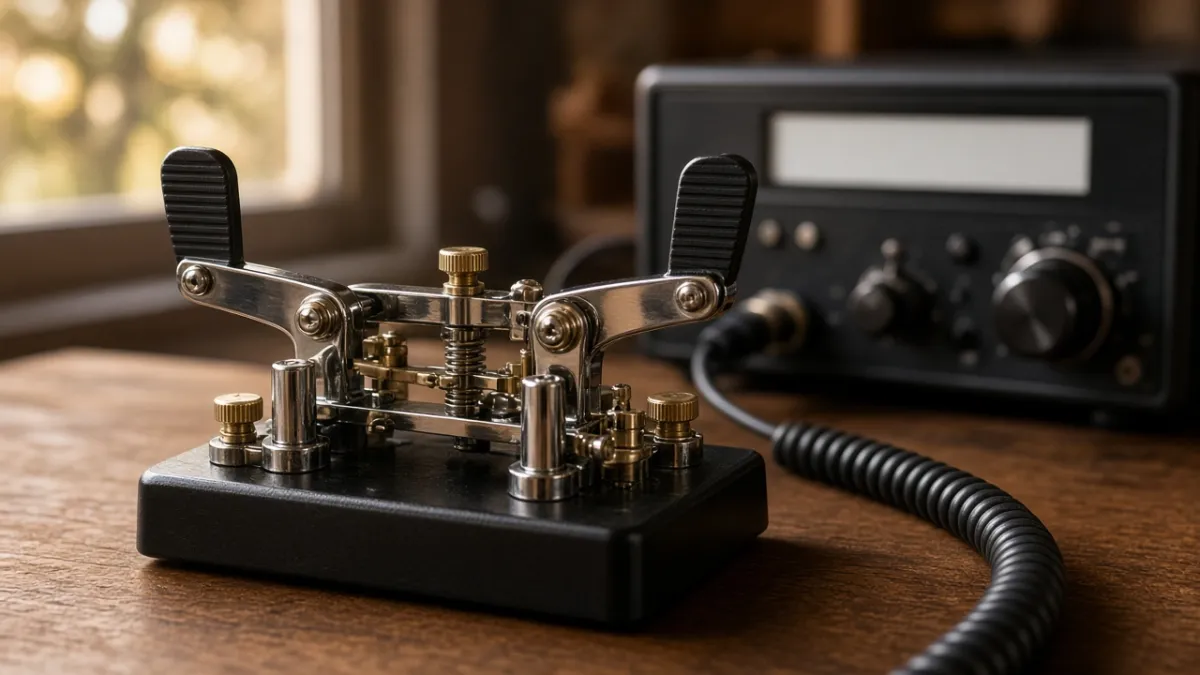
An iambic keyer is an electronic keyer that sends alternating dits and dahs when you squeeze both levers of a dual-lever Morse paddle at the same time. Instead of tapping each element yourself, you hold one or both levers and the keyer produces perfectly timed dots and dashes. "Iambic" refers to that alternating dit-dah rhythm. The two common behaviors, Mode A and Mode B, differ in one small detail: what happens at the moment you let go.
This guide explains how a keyer and paddle work together, what squeezing really does, the difference between Mode A and Mode B with letter examples, and how to practise. If you are still choosing hardware, our guide to the best Morse code key for beginners compares straight keys and paddles.
Paddle, keyer and radio: who does what
Three parts work together:
- The paddle is just a pair of switches. One lever (usually pressed with the thumb) is the dit lever; the other (usually pressed with the index finger) is the dah lever.
- The keyer reads those switches and generates correctly timed elements: a dit is one unit long, a dah is three units, and the gap between elements is one unit. Many modern radios have a keyer built in; standalone keyers and software keyers exist too.
- The radio (or a practice oscillator) turns the keyer's output into a tone.
Because the keyer does the timing, your job is only to hold the right lever for the right moment. That is why paddles can feel effortless at speed compared with a straight key, where you form every element by hand. Our page on Morse code timing explains the unit system in detail.
Single-lever vs dual-lever paddles
A single-lever paddle has one arm that moves left for dits and right for dahs. You can't press both sides at once, so it can't do iambic squeezing. A dual-lever (iambic) paddle has two independent arms that can be closed together. Only a dual-lever paddle plus a keyer set to iambic mode gives you squeeze keying.
Plenty of operators prefer single-lever paddles and never squeeze. Neither choice is wrong; iambic keying is an option, not a requirement.
What squeezing does
Hold only the dit lever and the keyer sends a string of dits. Hold only the dah lever and it sends dahs. Squeeze both, and the keyer alternates: dit-dah-dit-dah if the dit lever closed first, or dah-dit-dah-dit if the dah lever closed first.
That alternating pattern is useful because many characters contain alternating elements:
| Character | Morse | Squeeze approach |
|---|---|---|
| C | -.-. |
Start with dah, squeeze, let the keyer alternate |
| K | -.- |
Start with dah, squeeze briefly |
| R | .-. |
Start with dit, squeeze briefly |
| A | .- |
Dit then add the dah lever |
| N | -. |
Dah then add the dit lever |
| Period | .-.-.- |
Start with dit, squeeze for six elements |
| AR (end of message) | .-.-. |
Start with dit, squeeze for five elements |
Without squeezing, a C needs four separate hand movements. With squeezing, it needs one squeeze and a release at the right time.
Mode A vs Mode B
Both modes alternate elements while you squeeze. The difference is what the keyer does when you release both levers:
- Mode A: when you release, the keyer finishes the element it is currently sending and then stops. What you hear is exactly what you held.
- Mode B: if you release both levers while an element is being sent during a squeeze, the keyer finishes that element and then adds one more element of the opposite type.
The letter C in each mode
- Mode A: squeeze starting with the dah lever and keep holding until the final dit has started. Then release. Result: dah-dit-dah-dit.
- Mode B: squeeze starting with the dah lever and release during the second dah. The keyer finishes that dah and adds the final dit by itself. Result: dah-dit-dah-dit, with an earlier release.
Why it matters
Mode B lets you release a little earlier, which some operators find smoother at high speed. Mode A is more literal and many people find it easier to learn, because nothing extra is added after you let go. The catch with Mode B is that an early or late release can add an unwanted element; with Mode A, releasing early can drop one. Operators trained on one mode often make errors when switching to the other, so pick one and stay with it while you learn.
Other keyer settings you may see
- Dot and dash memory. If you tap the opposite lever briefly while an element is sending, the keyer remembers it and sends it next. This makes timing more forgiving.
- Weighting. Adjusts the dit-to-dah or element-to-space ratio. Leave it at the default (standard 1:3) while learning.
- Speed (WPM). Set it a little faster than feels comfortable for sending practice; your hand learns rhythm better than counting.
- Reverse paddle. Swaps the dit and dah levers, which some left-handed operators prefer.
- Ultimatic or bug modes. Some keyers offer other squeeze behaviors or a semi-automatic "bug" emulation. These are alternatives to iambic, not variations of it.
Iambic paddle vs bug vs straight key
| Key type | Who makes the timing | Squeeze keying | Typical feel |
|---|---|---|---|
| Straight key | You, for every dit and dah | No | Up-and-down tapping; great for learning rhythm |
| Bug (semi-automatic) | Mechanism makes dits; you make dahs | No | Side-to-side; distinctive "swing" |
| Single-lever paddle + keyer | Keyer, for both | No | Side-to-side; simple and precise |
| Dual-lever paddle + iambic keyer | Keyer, for both | Yes | Side-to-side with optional squeeze |
First-time keyer setup checklist
- Plug the paddle in and confirm the radio or keyer is set to paddle (not straight key) input.
- Choose Mode A or Mode B in the menu. If you have no preference, start with the default and note which one it is.
- Check the levers. Press the thumb lever: you should hear dits. If you hear dahs, turn on reverse paddle.
- Set a moderate speed, such as a pace where you can send your call sign cleanly.
- Adjust paddle spacing and tension so a light press closes the contact without the lever feeling loose.
- Turn on the side-tone so you can hear yourself, and practise off the air first.
Connecting a paddle
Most radios and keyers take a 3.5 mm or 6.35 mm stereo plug for a paddle. A common convention is tip for dit, ring for dah and sleeve for ground, but it varies, so check your radio's manual. If dits and dahs come out backwards, use the reverse-paddle setting rather than rewiring.
How to practise iambic keying
- Start without squeezing. Send simple characters with one lever at a time until the timing feels natural.
- Learn the squeeze letters. Practise C, K, R, A, N and the period in isolation, a few minutes a day.
- Record yourself. Play it back or decode it with a tool. If our Morse code translator reads your sending correctly, your spacing is on track.
- Copy at speed, send a little slower. Many learners use Farnsworth spacing to hear characters at full speed with longer gaps.
- Practise real exchanges. Our QSO simulator lets you rehearse a typical contact, and the ham radio Morse guide covers on-air etiquette.
If you don't have a paddle yet, you can still learn rhythm with the on-screen Morse code keyboard or daily Morse code practice drills.
Common iambic mistakes
- Holding the squeeze too long. You get an extra element. Release a fraction earlier.
- Releasing too early in Mode A. The last element is dropped. Hold until it starts.
- Gripping the paddle hard. A light touch with relaxed fingers is faster and less tiring.
- Paddle spacing too wide. Big gaps slow you down. Set the contact spacing small enough that a gentle press closes it.
- Switching modes mid-learning. Pick A or B and stick with it for several weeks.
Do you need an iambic keyer?
No. Many excellent operators use straight keys, single-lever paddles or bugs. Iambic keying simply saves movement for characters with alternating elements, which can reduce fatigue and help at higher speeds. If you are just starting, try both squeezing and non-squeezing on a dual-lever paddle and see which feels natural.