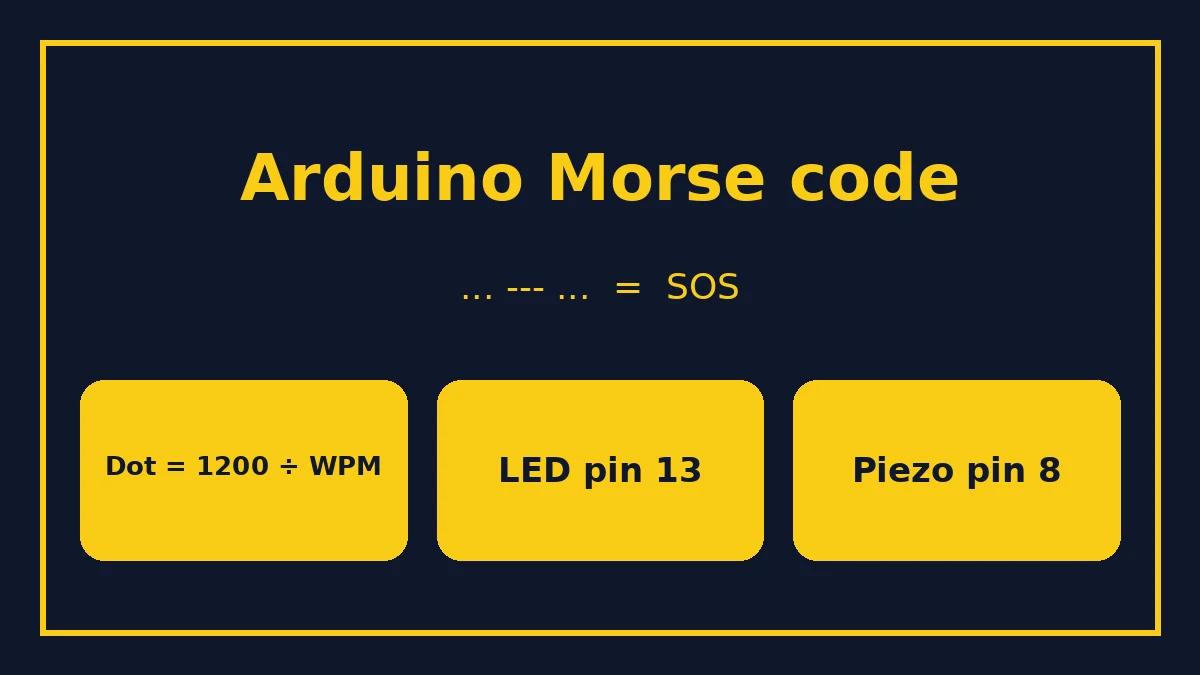
An Arduino Morse code project is one of the best first builds: one board, one LED (already on the board), an optional buzzer and a short sketch. In under half an hour you can make an Arduino flash and beep any message in proper International Morse code. This guide gives you the wiring, a complete sketch you can copy, the timing rules that make it readable, and ideas for taking it further.
What you need
- An Arduino Uno or similar board. On the Uno, the built-in LED is on pin 13, and the Arduino constant
LED_BUILTINpoints to it. - A USB cable and the free Arduino IDE.
- Optional: a passive piezo buzzer and two jumper wires, for sound.
- Optional: an external LED and a resistor (220 to 330 ohm is typical) if you want a brighter light than the built-in one.
No soldering is needed. If you want to learn the code itself before building, start with our Morse code chart.
How Morse code timing works
Morse code is not just dots and dashes. The gaps matter just as much, and getting them right is what makes your Arduino readable by a human or a decoder. The International standard, ITU-R M.1677-1, sets everything in units:
| Element | Length |
|---|---|
| Dot (dit) | 1 unit |
| Dash (dah) | 3 units |
| Gap between parts of one letter | 1 unit |
| Gap between letters | 3 units |
| Gap between words | 7 units |
Our article on the ITU-R M.1677-1 standard explains where these numbers come from.
Turning words per minute into milliseconds
Speed is measured in words per minute (WPM) using the standard word PARIS, which is exactly 50 units long including the gap after it. That gives a simple formula:
dot length in milliseconds = 1200 ÷ WPM
| Speed | Dot | Dash | Letter gap | Word gap |
|---|---|---|---|---|
| 10 WPM | 120 ms | 360 ms | 360 ms | 840 ms |
| 15 WPM | 80 ms | 240 ms | 240 ms | 560 ms |
| 20 WPM | 60 ms | 180 ms | 180 ms | 420 ms |
For a blinking LED that people will read by eye, 5 to 10 WPM is comfortable. For a buzzer, 15 to 20 WPM sounds like real Morse. Our guide to Morse code words per minute covers speed in more depth.
Wiring
LED only
Nothing to wire. The sketch uses LED_BUILTIN, which is the small LED next to pin 13 on an Uno.
Adding a buzzer
- Connect the buzzer's positive leg to digital pin 8.
- Connect the other leg to GND.
Use a passive piezo with the sketch below, because tone() generates the pitch. An active buzzer has its own oscillator and beeps whenever it gets power, so with one of those you would use digitalWrite() instead of tone().
The Arduino Morse code sketch
Copy this into a new sketch in the Arduino IDE, choose your board and port, and upload. It sends "SOS" on repeat; change the text in loop() to send anything you like.
const int LED_PIN = LED_BUILTIN;   // pin 13 on an Arduino Uno
const int BUZZER_PIN = 8;          // passive piezo on pin 8
const int WPM = 15;
const int DOT = 1200 / WPM;        // 80 ms per unit at 15 WPM

const char* LETTERS[] = {".-","-...","-.-.","-..",".","..-.","--.","....","..",".---","-.-",".-..","--",
  "-.","---",".--.","--.-",".-.","...","-","..-","...-",".--","-..-","-.--","--.."};
const char* DIGITS[] = {"-----",".----","..---","...--","....-",".....","-....","--...","---..","----."};

void signalOn(int units) {
  digitalWrite(LED_PIN, HIGH);
  tone(BUZZER_PIN, 600);
  delay(units * DOT);
  digitalWrite(LED_PIN, LOW);
  noTone(BUZZER_PIN);
}

void sendCode(const char* code) {
  for (int i = 0; code[i] != 0; i++) {
    signalOn(code[i] == '.' ? 1 : 3);
    delay(DOT);                    // 1-unit gap inside a letter
  }
  delay(2 * DOT);                  // makes 3 units between letters
}

void sendText(const char* text) {
  for (int i = 0; text[i] != 0; i++) {
    char c = toupper(text[i]);
    if (c >= 'A' && c <= 'Z') sendCode(LETTERS[c - 'A']);
    else if (c >= '0' && c <= '9') sendCode(DIGITS[c - '0']);
    else if (c == ' ') delay(4 * DOT);   // makes 7 units between words
  }
}

void setup() {
  pinMode(LED_PIN, OUTPUT);
  pinMode(BUZZER_PIN, OUTPUT);
}

void loop() {
  sendText("SOS");
  delay(3000);
}
How the sketch works
DOT = 1200 / WPMapplies the PARIS formula, so changingWPMchanges every timing at once.LETTERSandDIGITShold the International Morse code for A to Z and 0 to 9. You can check any entry against our Morse code alphabet and Morse code numbers pages.signalOn()turns the LED on and starts a 600 Hz tone for 1 unit (dot) or 3 units (dash). The Arduino reference describestone(pin, frequency)andnoTone(pin)for exactly this.sendCode()sends one letter, with a 1-unit gap after each element. The extra 2 units at the end make the 3-unit letter gap.sendText()walks through your message, converts lower case to upper case and adds 4 more units for a space, giving the full 7-unit word gap.
Testing it: decode your own Arduino
The best test is to decode what your board sends.
- By eye. Set
WPMto 5 and read the LED against the Morse code chart. - By ear. With the buzzer at 15 WPM, try reading it yourself, or record it on your phone.
- With a decoder. Play the recording into our Morse code audio decoder. If it prints SOS, your timing is right.
- From video. Film the LED and step through the frames; yesterday's guide on how to decode Morse code from an image or video shows how to count frames.
If the decoder runs letters together, your letter gaps are too short. If it splits letters apart, the gaps inside letters are too long.
Common problems and fixes
- Nothing happens. Check the board and port in the IDE, and that the upload finished without errors.
- The buzzer clicks but does not beep. You may have an active buzzer; replace
tone()andnoTone()withdigitalWrite(BUZZER_PIN, HIGH)andLOW. - The buzzer is silent. Check polarity: the positive leg goes to pin 8.
- Other pins misbehave. On boards like the Uno,
tone()uses a hardware timer and can interfere with PWM output on pins 3 and 11. Move other PWM devices to different pins. - It is hard to read. Slow down. Drop
WPMto 5 for a light, or use Farnsworth spacing (fast letters, longer gaps). Our Farnsworth spacing page explains it.
Ideas to take it further
Type a message from your computer
Read text from the Serial Monitor with Serial.readStringUntil('
') and pass it to sendText(). Your Arduino becomes a live text-to-Morse transmitter. To check the output against a known answer, paste the same text into our Morse code translator.
Add a straight key
Wire a push button (or a real Morse key) to a digital input and sound the buzzer while it is pressed. That turns the project into a practice oscillator. If you want a proper key, see our guide to the best Morse code key for beginners.
Decode instead of send
Measure how long the button is held: short presses are dots, long presses are dashes, and pauses mark the end of a letter. Matching the pattern against the LETTERS table turns your board into a simple decoder.
Add prosigns and punctuation
Extend the tables with punctuation such as the period (.-.-.-) and question mark (..--..), or prosigns like AR and SK. Our Morse code punctuation and prosigns pages list them.
Use light outdoors
A brighter LED or a relay-driven lamp makes a signal lamp you can read across a garden. Our light Morse code translator shows what a correctly timed flash pattern looks like.
Using this project in a classroom or club
The Arduino Morse sender works well as a one-lesson STEM activity because every part of it is visible and testable. A simple plan for a 45-minute session:
- Five minutes: the code. Show the Morse code chart and send SOS by tapping on a desk. Ask students to write down the dots and dashes they hear.
- Ten minutes: timing. Introduce units and the 1200 ÷ WPM formula. Students calculate the dot length at 5, 10 and 20 WPM.
- Fifteen minutes: build and upload. Pairs upload the sketch and change the message to their initials.
- Ten minutes: swap and decode. Each pair decodes another pair's message by eye, then checks with the decoder.
- Five minutes: reflect. What happened when the gaps were wrong? Why do the rules use units instead of fixed times?
Students who finish early can add the push-button practice oscillator or the Serial Monitor input. For younger learners, skip the code and use our Morse code for kids page first, and teachers can find printable material in the Morse code classroom kit.
The project also makes a good bridge between subjects. History classes can connect it to telegraphs and our Morse code history page, while computing classes can discuss how Morse compares with binary in our Morse code vs binary article.
Why build it?
Building a Morse sender teaches the code better than flashcards alone, because you have to understand the timing to make it work. It is also a classic introduction to loops, arrays and functions for students. If you are learning Morse yourself, pair the project with the Morse code trainer and our guide on how long it takes to learn Morse code.