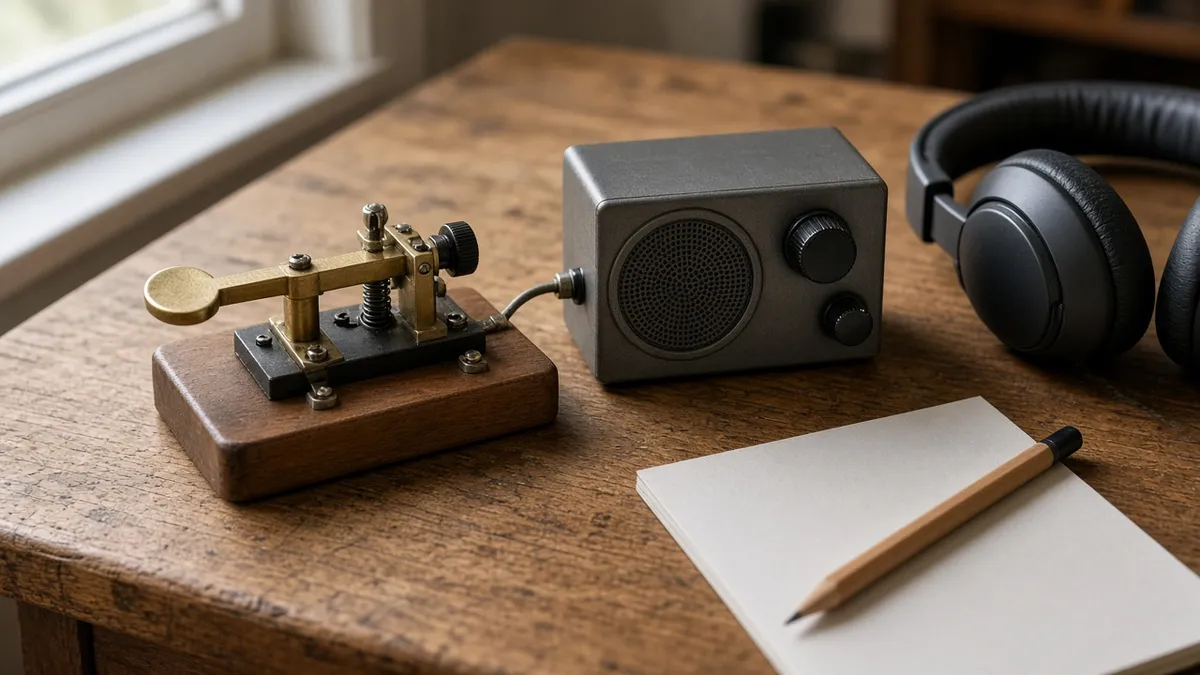
A Morse code beeper is simply a small device that makes a steady tone while you hold a key down, so you can hear your own dits and dahs. Radio operators call it a code practice oscillator, or CPO. It does not transmit anything over the air. It is an audio gadget: a key, a little tone circuit, a battery and a speaker or headphones. That makes it one of the cheapest and friendliest ways to start sending Morse code at home.
This guide explains what a practice oscillator does, the main types you can buy or build, how to pick a comfortable tone, and simple drills to get the most out of one. If you only want to hear what Morse sounds like right now, you can type a message into our Morse code translator and play it back first.
What a Morse code beeper actually does
Morse code is a pattern of short and long sounds. A beeper turns the opening and closing of a switch into those sounds. Press the key and the tone starts; let go and it stops. Hold it briefly for a dit, hold it about three times as long for a dah. Our guide to dit and dah explains why operators think of Morse as sounds rather than dots on paper.
Inside a typical oscillator there are only a few parts:
- A key or switch. This is what you press. In many simple designs the key is wired in the power line, so the circuit only uses the battery while the key is held down. ARRL's beginner book Now You're Talking notes that its practice oscillator uses electricity only when the key is pressed, so no on/off switch is needed.
- A tone generator. A classic choice is the 555 timer chip, an inexpensive eight-pin integrated circuit that produces a square-wave tone. ARRL's QST magazine has published several 555-based practice oscillator projects, including a "budget code practice oscillator" for learners in December 2023.
- A speaker or headphone jack. Small 8-ohm speakers are common in these projects. Many people prefer headphones so they can practise quietly.
- A power source. Usually a 9-volt battery, or USB power on newer units.
Some units add volume and pitch knobs, or a light that flashes with the tone; our light Morse code translator does the same on screen.
Why use a beeper instead of an app?
Apps and websites are great for learning to recognise characters. A practice oscillator is about learning to send them with a real key. There are a few good reasons to use one:
- You feel the timing in your hand. Sending with a key trains muscle memory in a way that tapping a phone screen does not.
- No licence is needed for practice. Because a practice oscillator does not transmit a radio signal, it is just an audio device. You can practise as much as you like before you ever get on the air.
- It works with a friend. ARRL's Now You're Talking suggests using a practice oscillator to send code to a study partner, or recording yourself and playing it back to check whether you can copy what you sent.
If you want to practise on a phone or computer as well, our on-screen Morse code keyboard and the Morse code trainer cover the listening side.
Types of Morse code beepers
There is no single "right" practice oscillator. Here are the common options and who each one suits.
| Type | What it is | Good for |
|---|---|---|
| Combined key and oscillator | A simple straight key with a built-in tone circuit and speaker on one base | Absolute beginners and classrooms |
| Stand-alone practice oscillator | A small box with jacks for a key and headphones or a speaker | People who already own a key or want to upgrade later |
| DIY kit | A bag of parts and a circuit board you solder yourself | Learners who also enjoy electronics |
| Breadboard or microcontroller build | A homemade circuit, often with a buzzer, on a breadboard or board such as an Arduino | Makers, students and STEM projects |
| Radio sidetone | The built-in practice tone in many amateur transceivers | Licensed operators who already own a rig |
Combined units are the simplest: add a battery and start pressing, though the built-in key may feel light compared with a proper straight key.
Stand-alone oscillators let you plug in whatever key you like, so they grow with you. If you are still choosing a key, our guide to the best Morse code key for beginners compares straight keys and paddles.
Kits are popular in ham radio clubs because building one is a small, satisfying soldering project. You end up with a working tool and a little electronics experience.
Microcontroller builds are a great school or hobby project. Our Arduino Morse code tutorial shows how to make an LED blink and a buzzer beep in Morse with a few lines of code. The difference is that an Arduino project usually plays Morse that you program, while a practice oscillator responds to your hand on a key. You can make an Arduino do both.
Radio sidetone is the tone a transceiver plays in your headphones while you send. Many radios let you practise with the transmitter turned off. Check your radio's manual for its practice or "break-in off" setting before relying on this.
Straight key, paddle or bug: will it work?
This matters more than most beginners expect.
- Straight key: works with any basic practice oscillator. A straight key is just a switch, so it simply turns the tone on and off.
- Bug (semi-automatic key): a mechanical bug makes its own repeating dits with a vibrating arm, and it also keys like a switch, so it works with a standard practice oscillator too.
- Paddle: a paddle needs an electronic keyer to make timed dits and dahs. The December 2023 QST practice oscillator article points out that paddles are used only with an electronic keyer, so a plain beeper will not do the job on its own. Some practice units include a keyer; many do not. Read the product description carefully.
If you plan to learn with a paddle, our explainer on the iambic keyer shows how the keyer and paddle work together.
Choosing a comfortable tone
A practice oscillator's pitch is a matter of taste, but it affects how pleasant long sessions feel.
- Avoid harsh, squeaky tones. Very simple circuits produce a square wave that can sound buzzy. Some builders add a small filter to soften the sound.
- Pick a mid-range pitch. The December 2023 QST budget oscillator article suggests that keeping the tone between about 400 and 600 Hz is preferable for learning. Other published designs sit a little higher; a 2001 QST project, for example, used a tone of about 700 Hz. Try a few settings and choose the one you can listen to for twenty minutes without fatigue.
- Keep the volume low. A tone that is too loud is tiring and can annoy everyone else in the house. Headphones at a modest level are ideal.
- Stay consistent. Once you find a pitch you like, keep it. Your ear gets used to recognising characters at a particular tone.
How to practise with a Morse code beeper
A beeper only helps if you use it regularly. These drills keep practice short and productive.
1. Start with steady elements
Send a row of ten dits, then ten dahs. Listen for even spacing. A dah should be about three times as long as a dit, and the gap between elements inside a letter about one dit long. If you want the exact unit system, read our page on Morse code timing.
2. Send the alphabet in small groups
Do not send all 26 letters at once. Pick four or five, send each one several times, then add more. Keep a Morse code chart beside you while you learn, but try to look at it less each day.
3. Copy real words
Try THE, AND, YOU, CQ and your own name. Our post on names in Morse code shows how to work out any name letter by letter.
4. Record and check
Record a minute of your sending on your phone. Wait an hour, then play it back and write down what you hear. If you can't read your own sending, the problem is usually spacing between letters and words. You can also play the recording into a decoder to see how a machine reads it.
5. Practise with a partner
Take turns sending short messages to a friend and writing down what the other person sent, as ARRL's beginner material suggests.
6. Keep sessions short
Ten to fifteen minutes a day usually beats a single long session at the weekend. Our Morse code practice guide has more daily drills you can rotate through.
Building your own beeper: what to expect
If you like the idea of a DIY practice oscillator, a basic 555 timer kit is a classic first project. Expect to:
- Solder a small number of parts onto a circuit board, including the timer chip, resistors, capacitors and a speaker.
- Connect a 9-volt battery clip and your key.
- Adjust the tone, often by changing a resistor or turning a potentiometer.
Follow the kit's instructions exactly, check that the chip faces the right way, and handle the chip carefully to avoid static damage. If it does not beep, check the battery, the chip orientation and your solder joints.
Do you need a Morse code beeper?
No. You can learn to recognise Morse entirely with apps, audio and on-screen tools, and many people do. A beeper becomes useful when you want to send Morse with a real key, practise with someone else, or prepare for on-air contacts. When you are ready to hear what real on-air exchanges sound like, our guide to ham radio Morse code is a good next step.